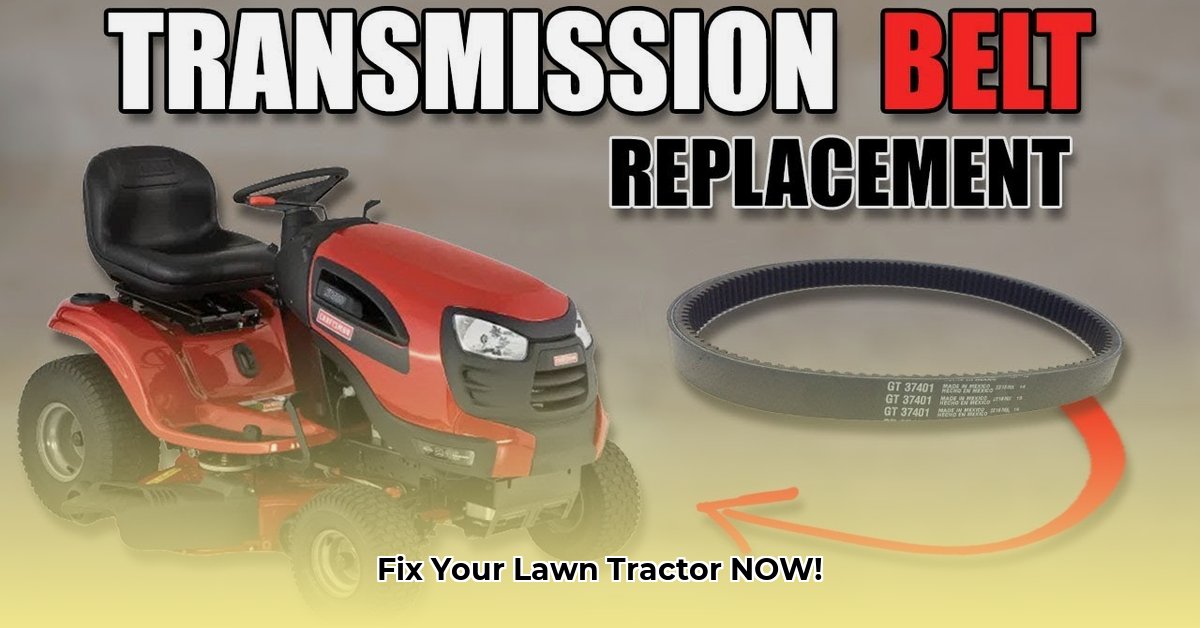
Keeping your Craftsman lawn tractor running smoothly relies heavily on a functioning drive belt. A worn or faulty belt can significantly impact performance, so choosing and installing the right replacement is crucial. This guide provides a step-by-step approach to ensure a successful belt replacement, maximizing your mower's lifespan and efficiency. For additional Craftsman parts and accessories, check out this helpful resource: Craftsman Accessories.
Identifying Your Craftsman's Belt: The First Step
Before purchasing a replacement, correctly identifying your tractor's belt is paramount. Incorrect belt selection can lead to performance issues or even damage.
Locate Your Model Number: This crucial identifier is typically found on a sticker located under the seat, on the chassis, or within a storage compartment. Record this number precisely.
Examine the Old Belt: The old belt might have a part number printed on it. Take a clear picture, noting the size, shape and any other markings. This visual record aids in accurate replacement selection.
Utilize Online Resources: Once you have the model number and a picture of the belt, consult the official Craftsman website 1 or a reputable online parts retailer. Inputting your model number will pinpoint the exact belt required for your tractor.
Choosing the Right Replacement Belt: Material Matters
Several belt types are available, each offering varying durability and cost. Consider your mowing frequency and terrain when selecting your replacement.
Standard Rubber Belts: Economical and widely available, these belts are suitable for occasional use on relatively flat terrain. However, they have a shorter lifespan compared to other options.
Reinforced Rubber Belts: Offering improved durability and longevity, reinforced rubber belts are ideal for moderate use. They provide a balance between performance and cost effectiveness.
Kevlar Belts: Representing the top tier in durability, Kevlar belts offer superior strength and resistance to wear and tear. They are particularly suitable for frequent mowing or demanding terrains but come at a higher price point. The increased lifespan, however, frequently offsets the higher initial cost.
| Belt Material | Pros | Cons |
|---|---|---|
| Standard Rubber | Affordable, widely available | Shorter lifespan, not ideal for heavy use |
| Reinforced Rubber | Improved durability, better value | More expensive than standard rubber |
| Kevlar | Exceptional strength, longest lifespan | Highest cost |
Always verify the specifications (length, width, number of ribs) of your old belt before purchasing a replacement, ensuring a precise fit.
Installing Your New Belt: A Step-by-Step Guide
Replacing a drive belt is a straightforward DIY task, provided safety precautions are followed meticulously.
Safety First: Disconnect the Spark Plug: This critical step prevents accidental engine starts during the installation process.
Access the Belt: Remove the belt cover. The process may involve unscrewing bolts or screws; consult your owner's manual for model-specific instructions.
Remove the Old Belt: Carefully guide the old belt off the pulleys. Avoid forceful maneuvers that could damage the belt or pulleys. Observe the belt's routing around the pulleys for accurate reinstallation.
Inspect the Pulleys: Examine the pulleys for wear or damage. Consider pulley replacement if necessary, to ensure proper belt function.
Install the New Belt: Carefully install the new belt, precisely following the routing of the old belt. Ensure the belt is securely seated on all pulleys.
Reinstall the Belt Cover: Securely fasten the belt cover.
Reconnect the Spark Plug: Once the installation is complete, reconnect the spark plug.
Remember: Always refer to your owner's manual for model-specific instructions.
Maintaining Your Belt: Extending its Lifespan
Proactive maintenance significantly extends the life of your drive belt.
Regular Inspections (Weekly): Check for cracks, fraying, or glazing. Addressing minor issues promptly prevents major problems.
Cleanliness is Key: Remove grass clippings and debris from the belt to maintain optimal function.
Avoid Overloading: Don't overload the tractor with excessive grass or attempt mowing in excessively wet conditions.
Proper Storage (Off-Season): When storing the tractor, keep the belt dry and clean, protecting it from possible deterioration.
Troubleshooting Common Issues
Despite proper maintenance, issues might arise.
Belt Slippage: Check belt tension. If inadequate, adjust or replace the belt. Worn pulleys could also cause slippage.
Belt Breakage: Inspect for severe cracks. Immediate replacement is crucial; ignoring the problem could cause further damage.
Key Takeaways:
- Identifying your Craftsman's model number and the old belt's specifications is paramount for accurate replacement.
- Different belt materials offer varying durability and cost, requiring consideration of your mowing needs.
- Proper installation, combined with regular maintenance, maximizes belt lifespan and protects your investment.